our aircraft painting process
A great paint job is built long before the first coat of color is sprayed. At Hawkeye AeroCoatings, our aircraft painting process is methodical, documented, and fully transparent — so you always know exactly where your aircraft is and what we’ve found along the way. We don’t cut corners on preparation. That’s where the quality of a paint job is either made or lost.
Step 1-Incoming Inspection
The moment your aircraft arrives, we conduct a thorough walkaround and document its existing condition. Every dent, scratch, corrosion spot, and surface irregularity is photographed and logged. Any area of concern is brought to your attention immediately — before any work begins. There are no surprises mid-project at Hawkeye.
Our commitment: We notify you of any corrosion or structural findings before proceeding. Your awareness and approval come first.
Step 5-Metal Conversion Coating & Prime
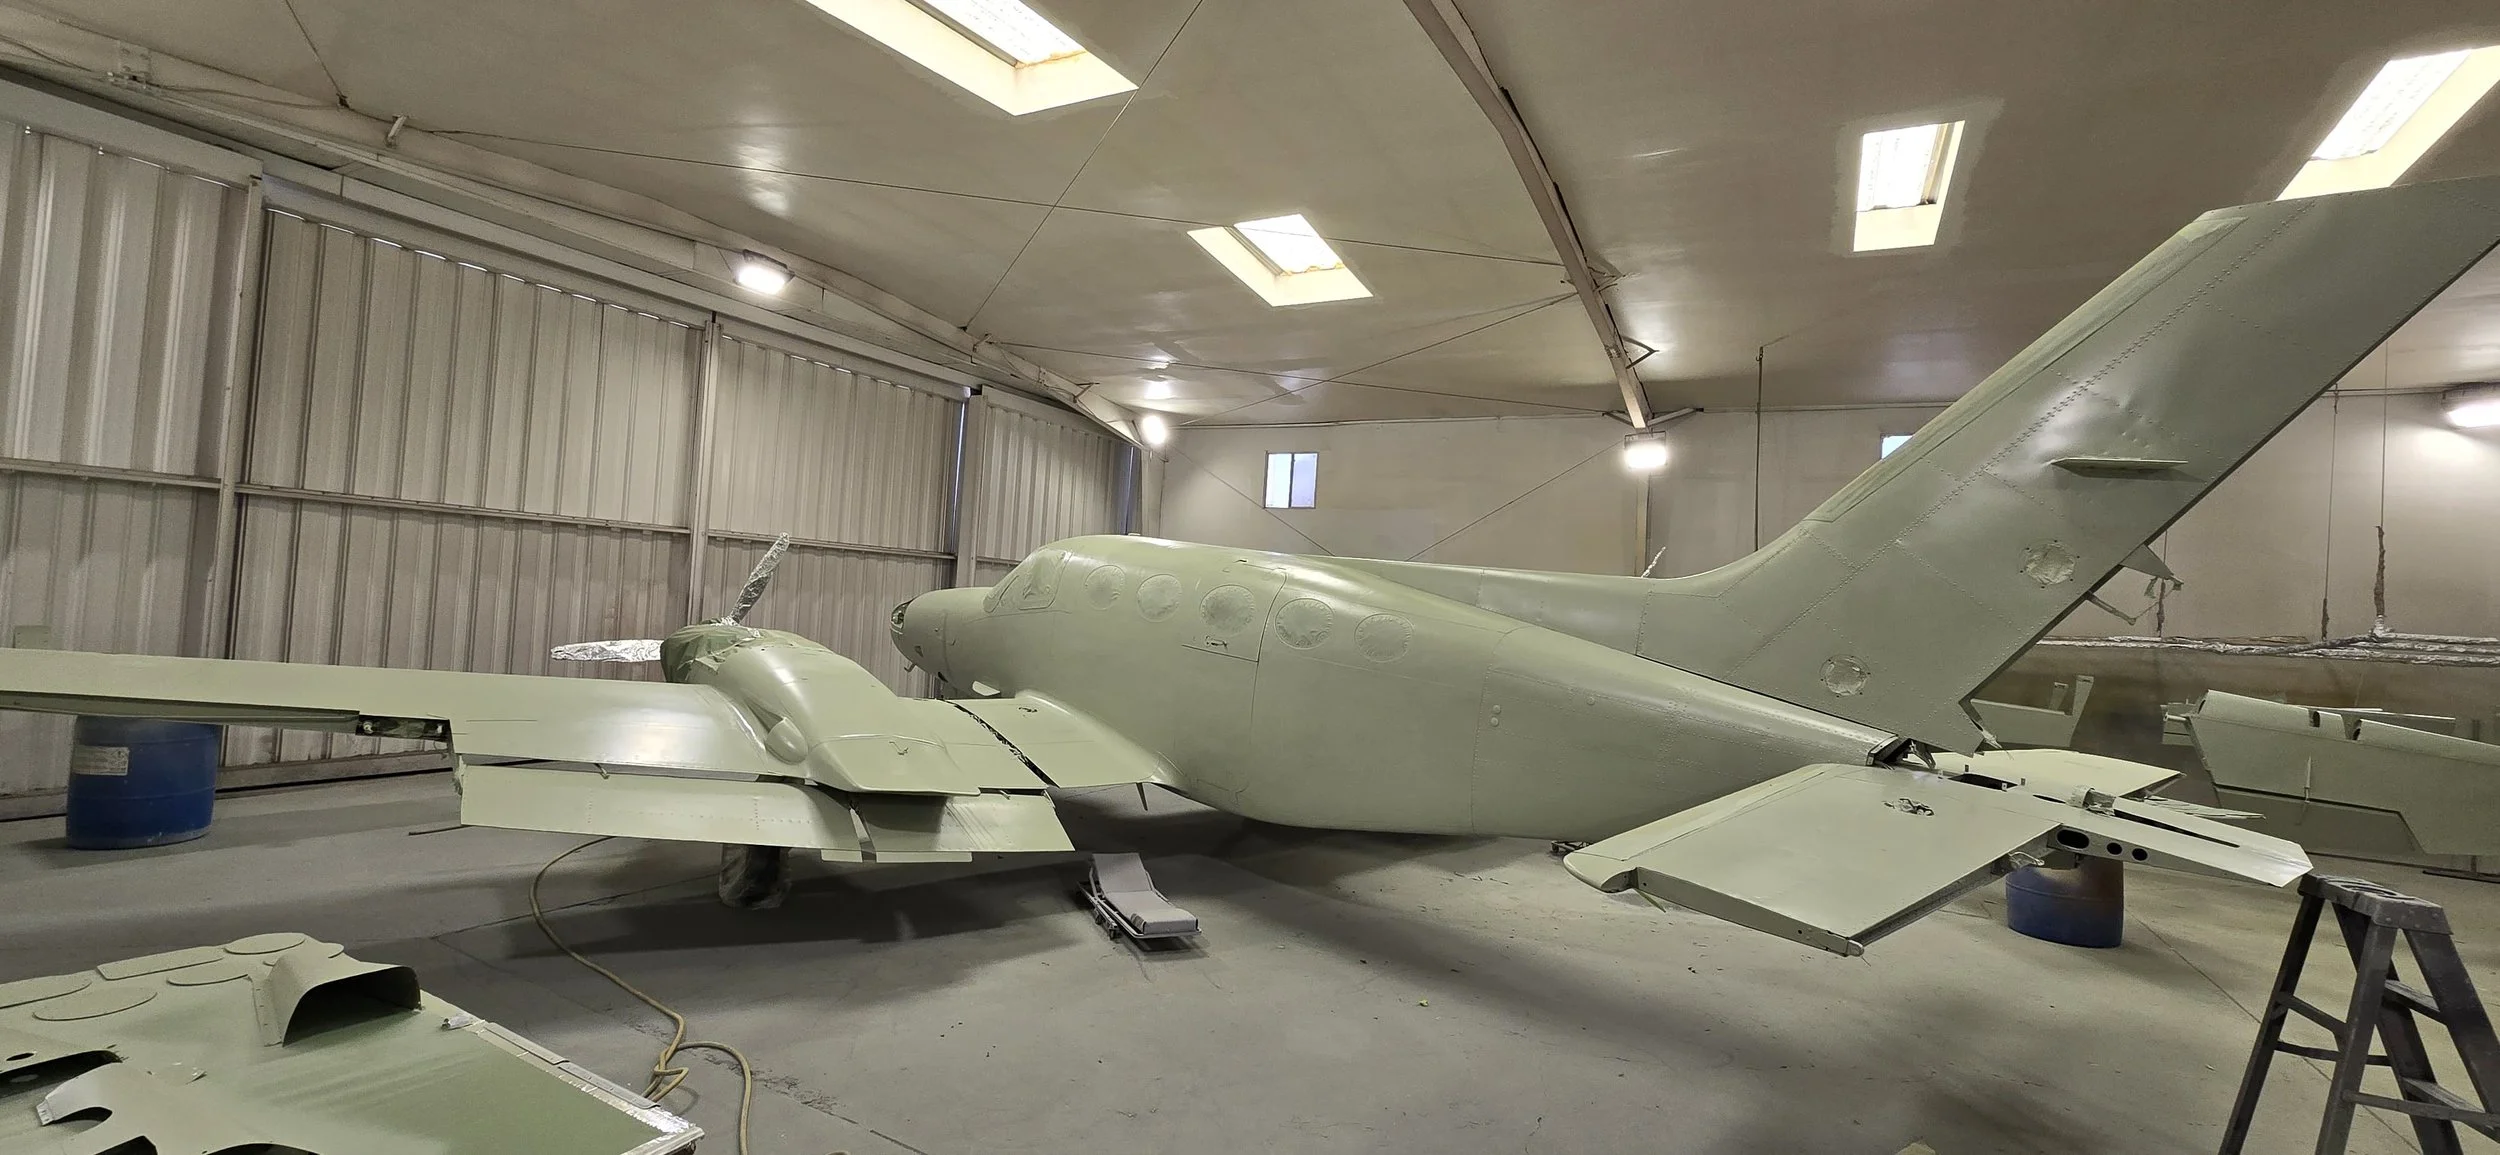
All aluminum surfaces receive an alodine (chromate conversion coating) treatment — the industry-standard corrosion-proofing step that provides both corrosion resistance and a chemically bonded base for primer adhesion. We then apply a multi-element, corrosion-inhibiting epoxy primer system to all surfaces, providing the foundation that maximizes both durability and topcoat adhesion.
Step 2-Disassembly & Protection
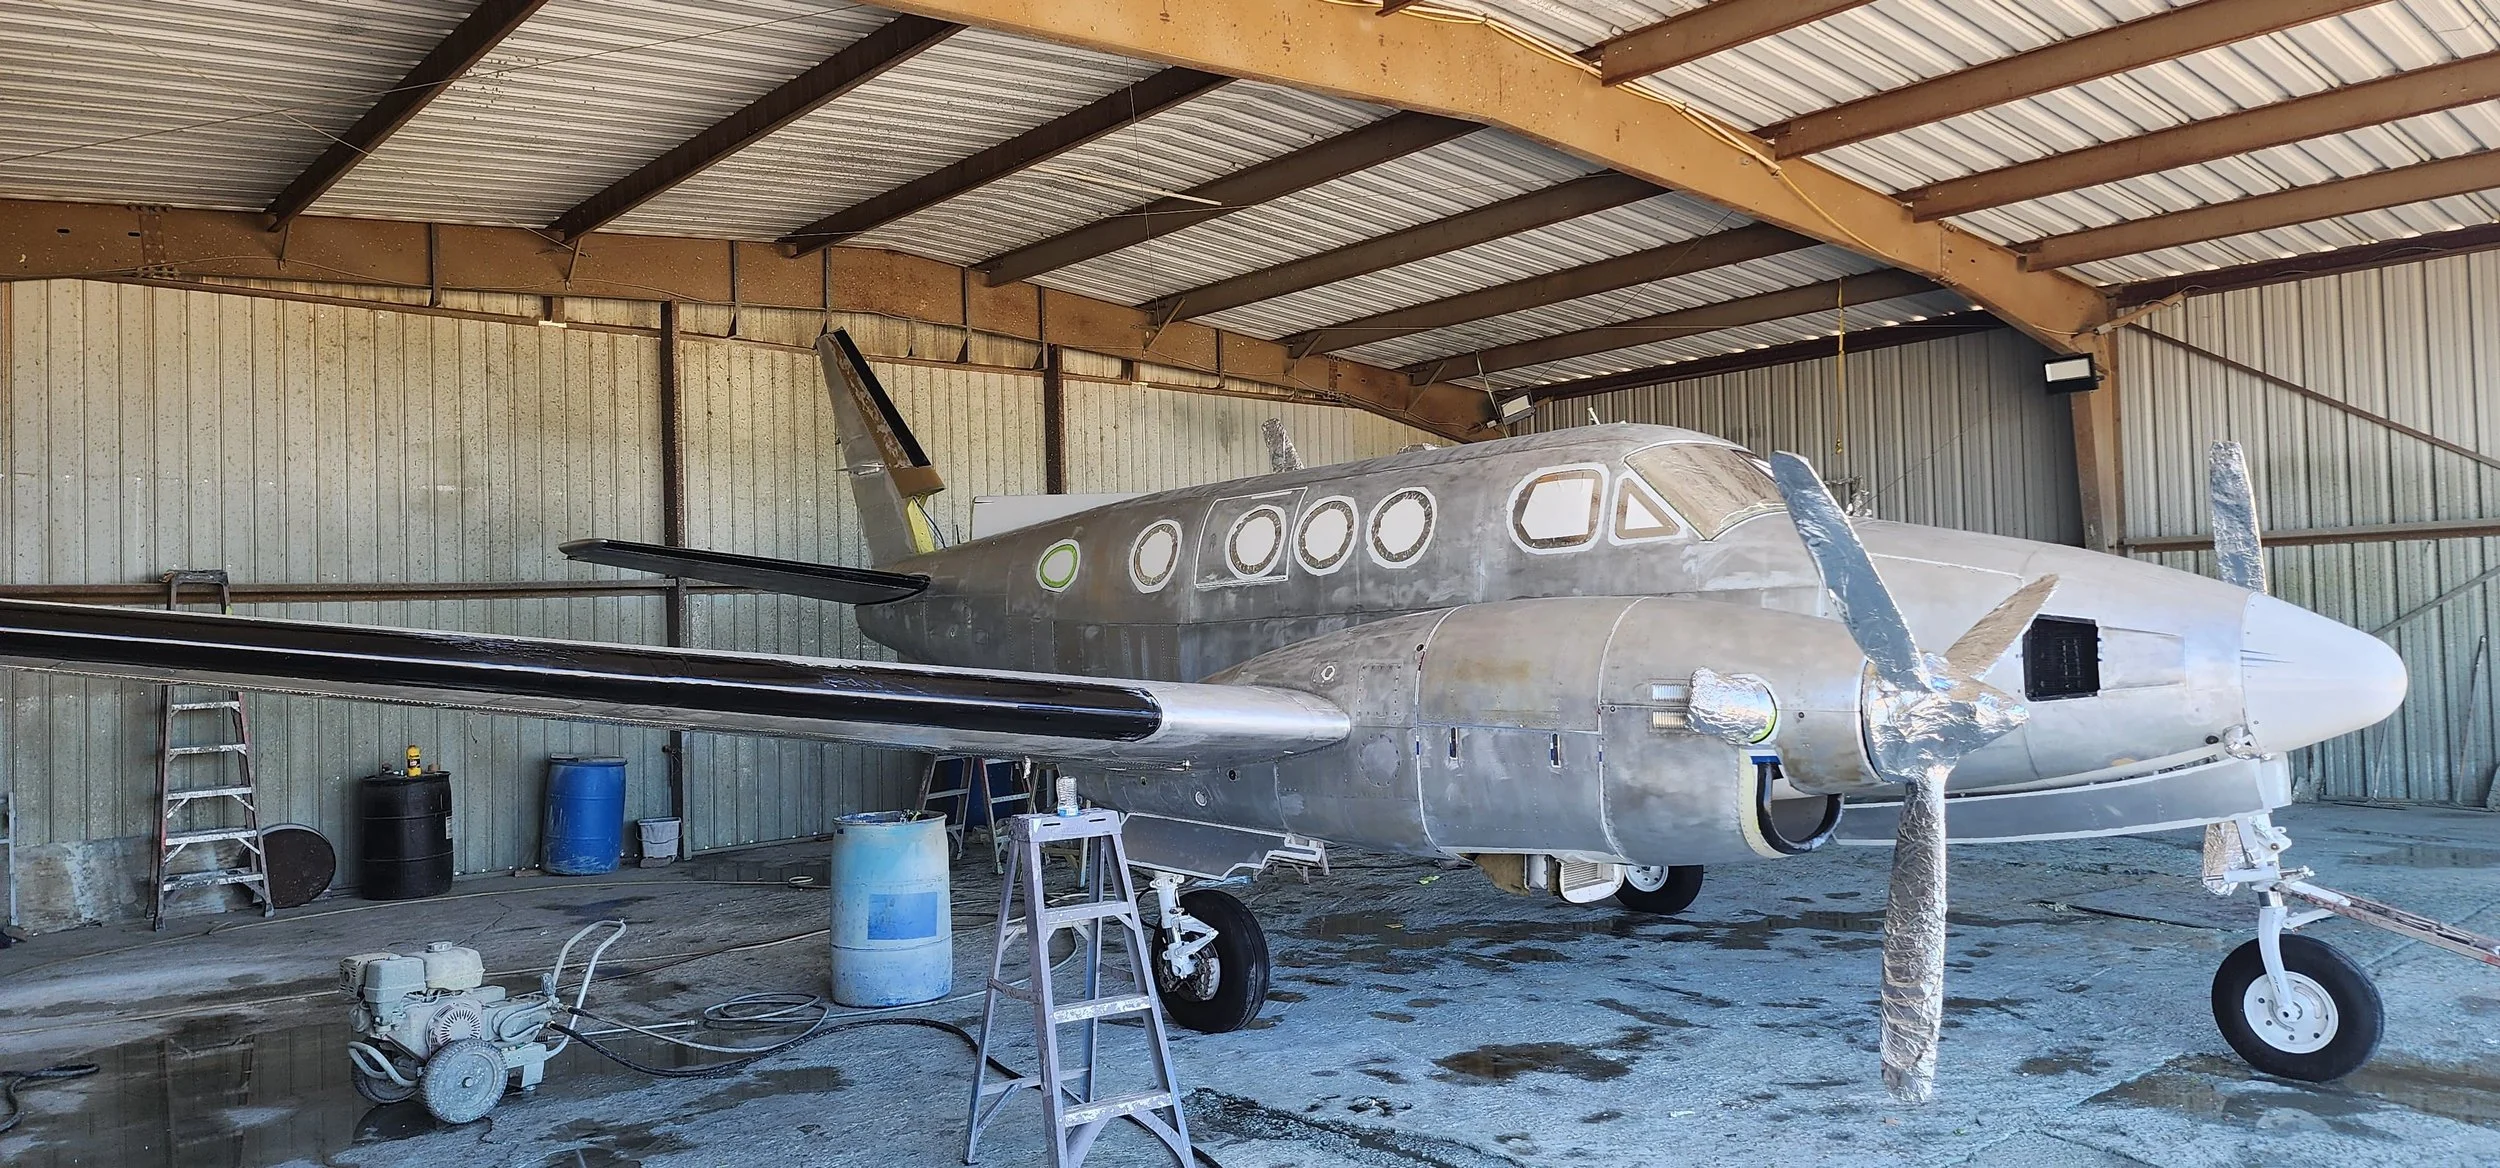
Flight control surfaces are carefully removed for individual stripping and rebalancing. All windows, windshields, wingtips, antennas, ram air intakes, and composite surfaces are masked and protected with aluminum sheeting and plastic film. Chemical strippers never contact materials they could damage.
Step 6-Design Layout & Digital Approval
Before any color touches your aircraft, your paint scheme is laid out on the airframe by hand. We then provide a digital photo for your review and final approval. This is your opportunity to confirm colors, stripe positions, and graphic placement. We proceed only when you’ve signed off.
Step 3-Chemical Strip
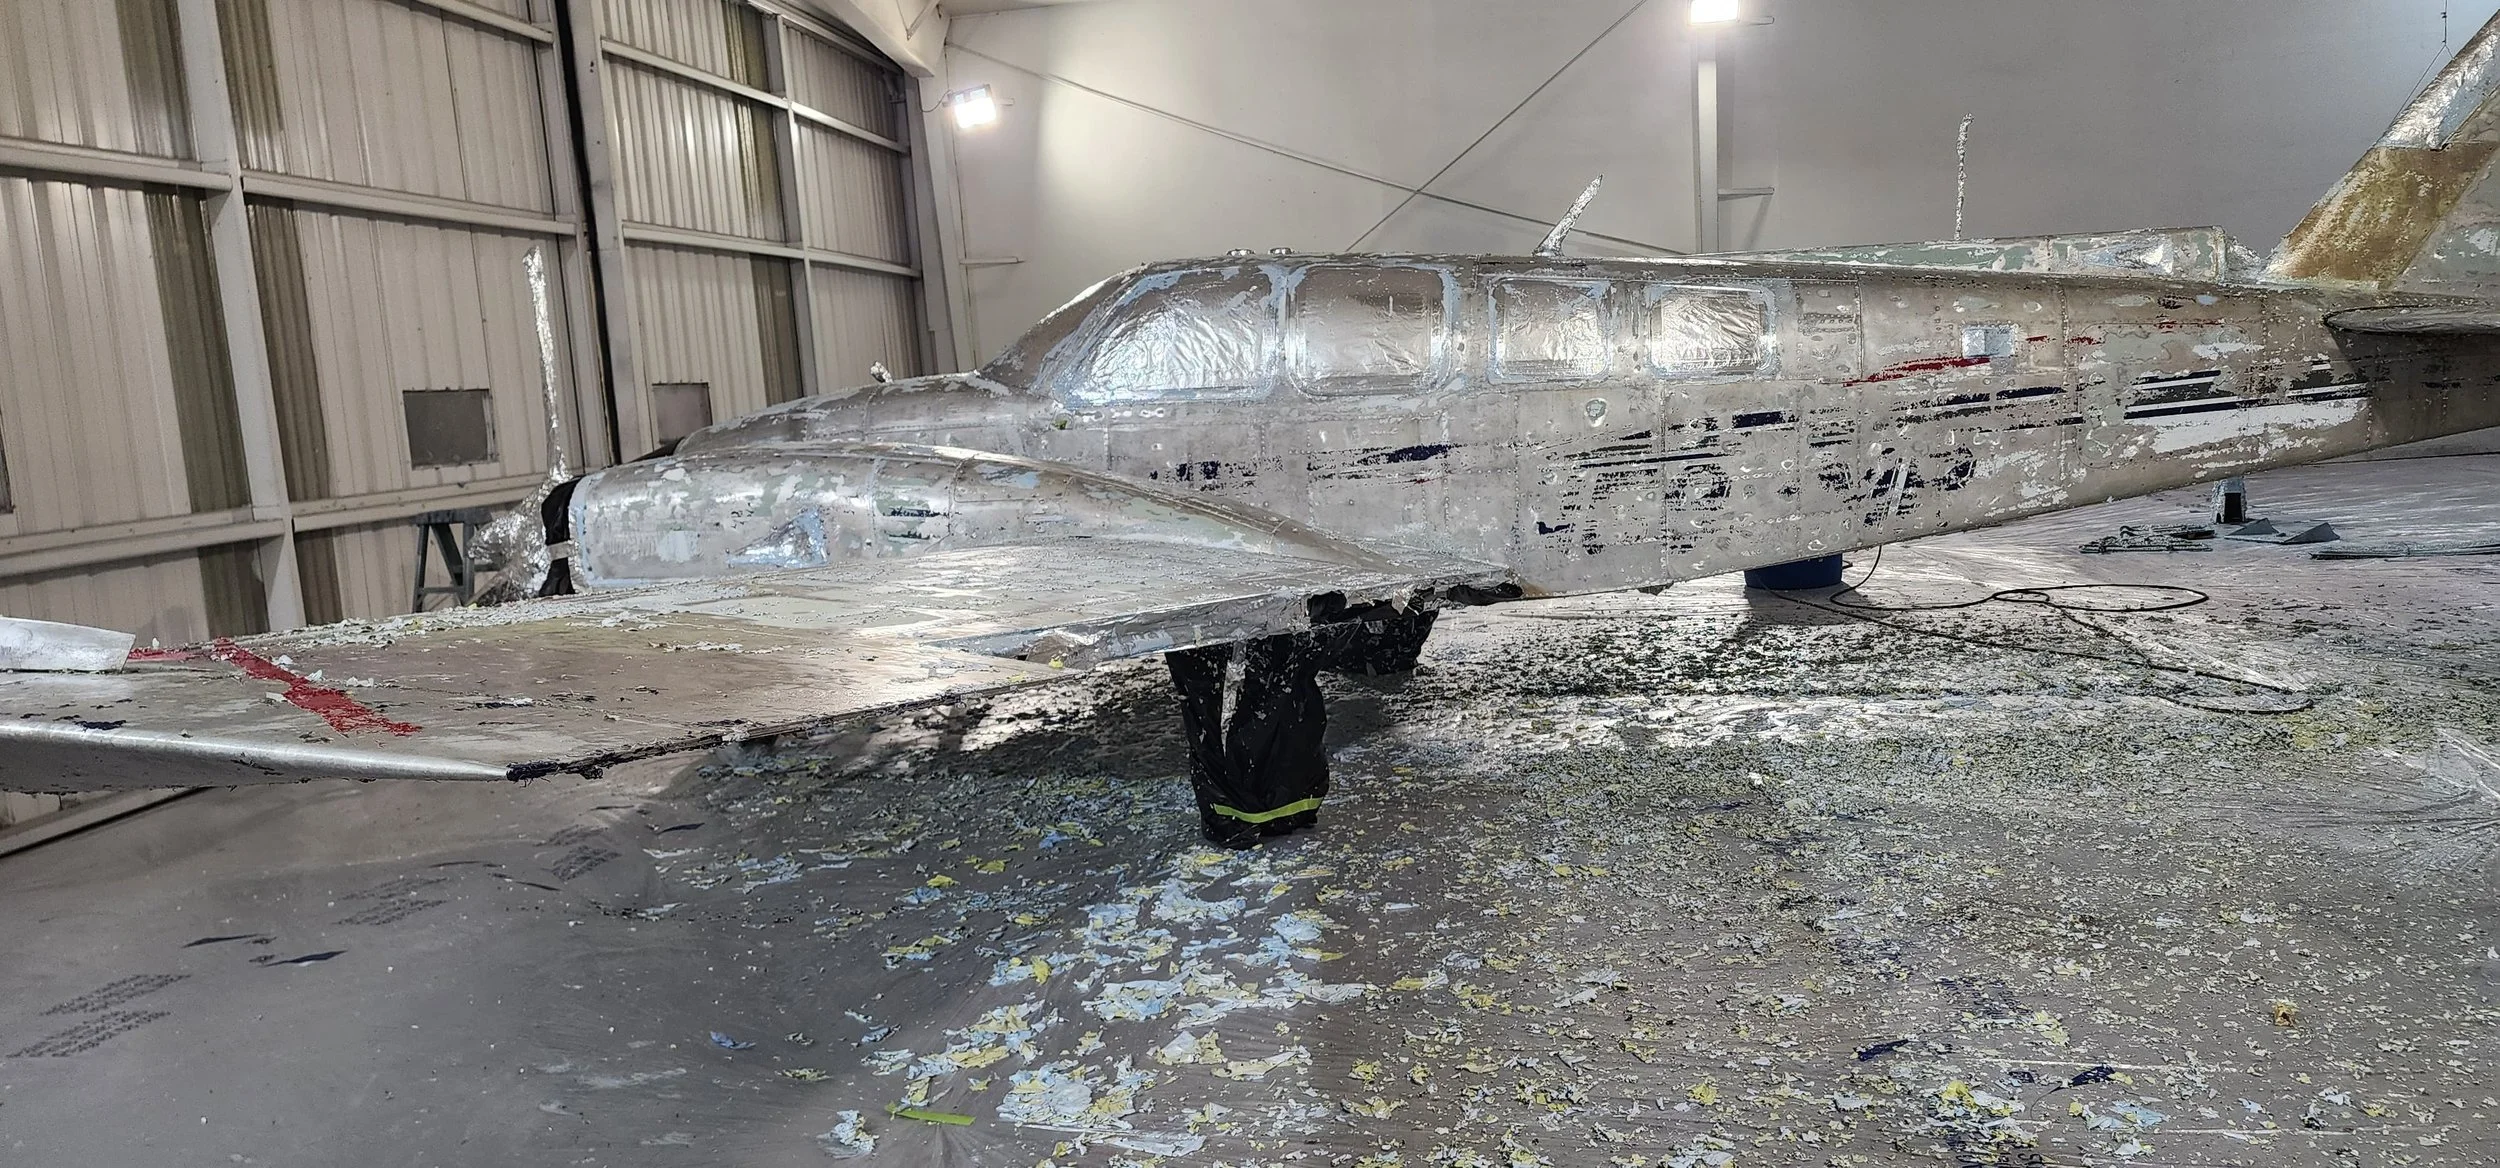
We apply a non-acidic, environmentally responsible chemical stripper to remove all existing paint and primer down to bare aluminum. Once stripped, the aircraft is thoroughly rinsed to remove all foreign matter. This step reveals the true condition of the airframe — something that isn’t possible when painting over existing coats.
Step 7-Topcoat Application
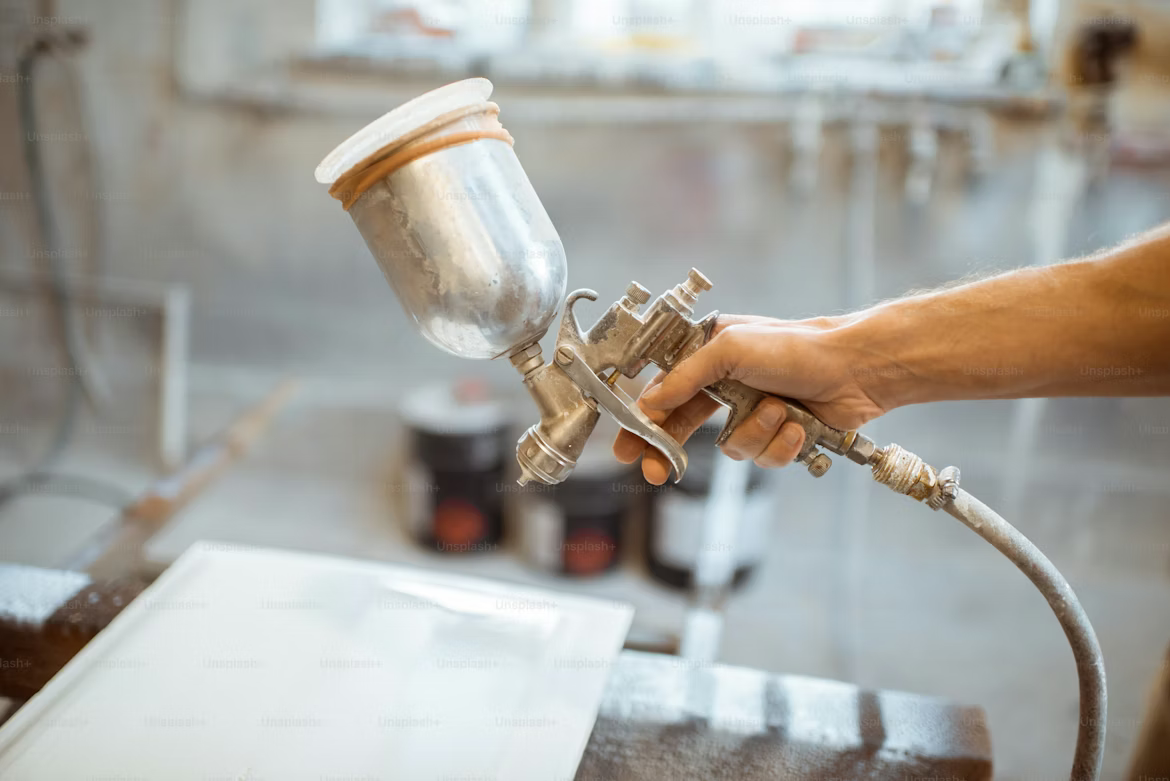
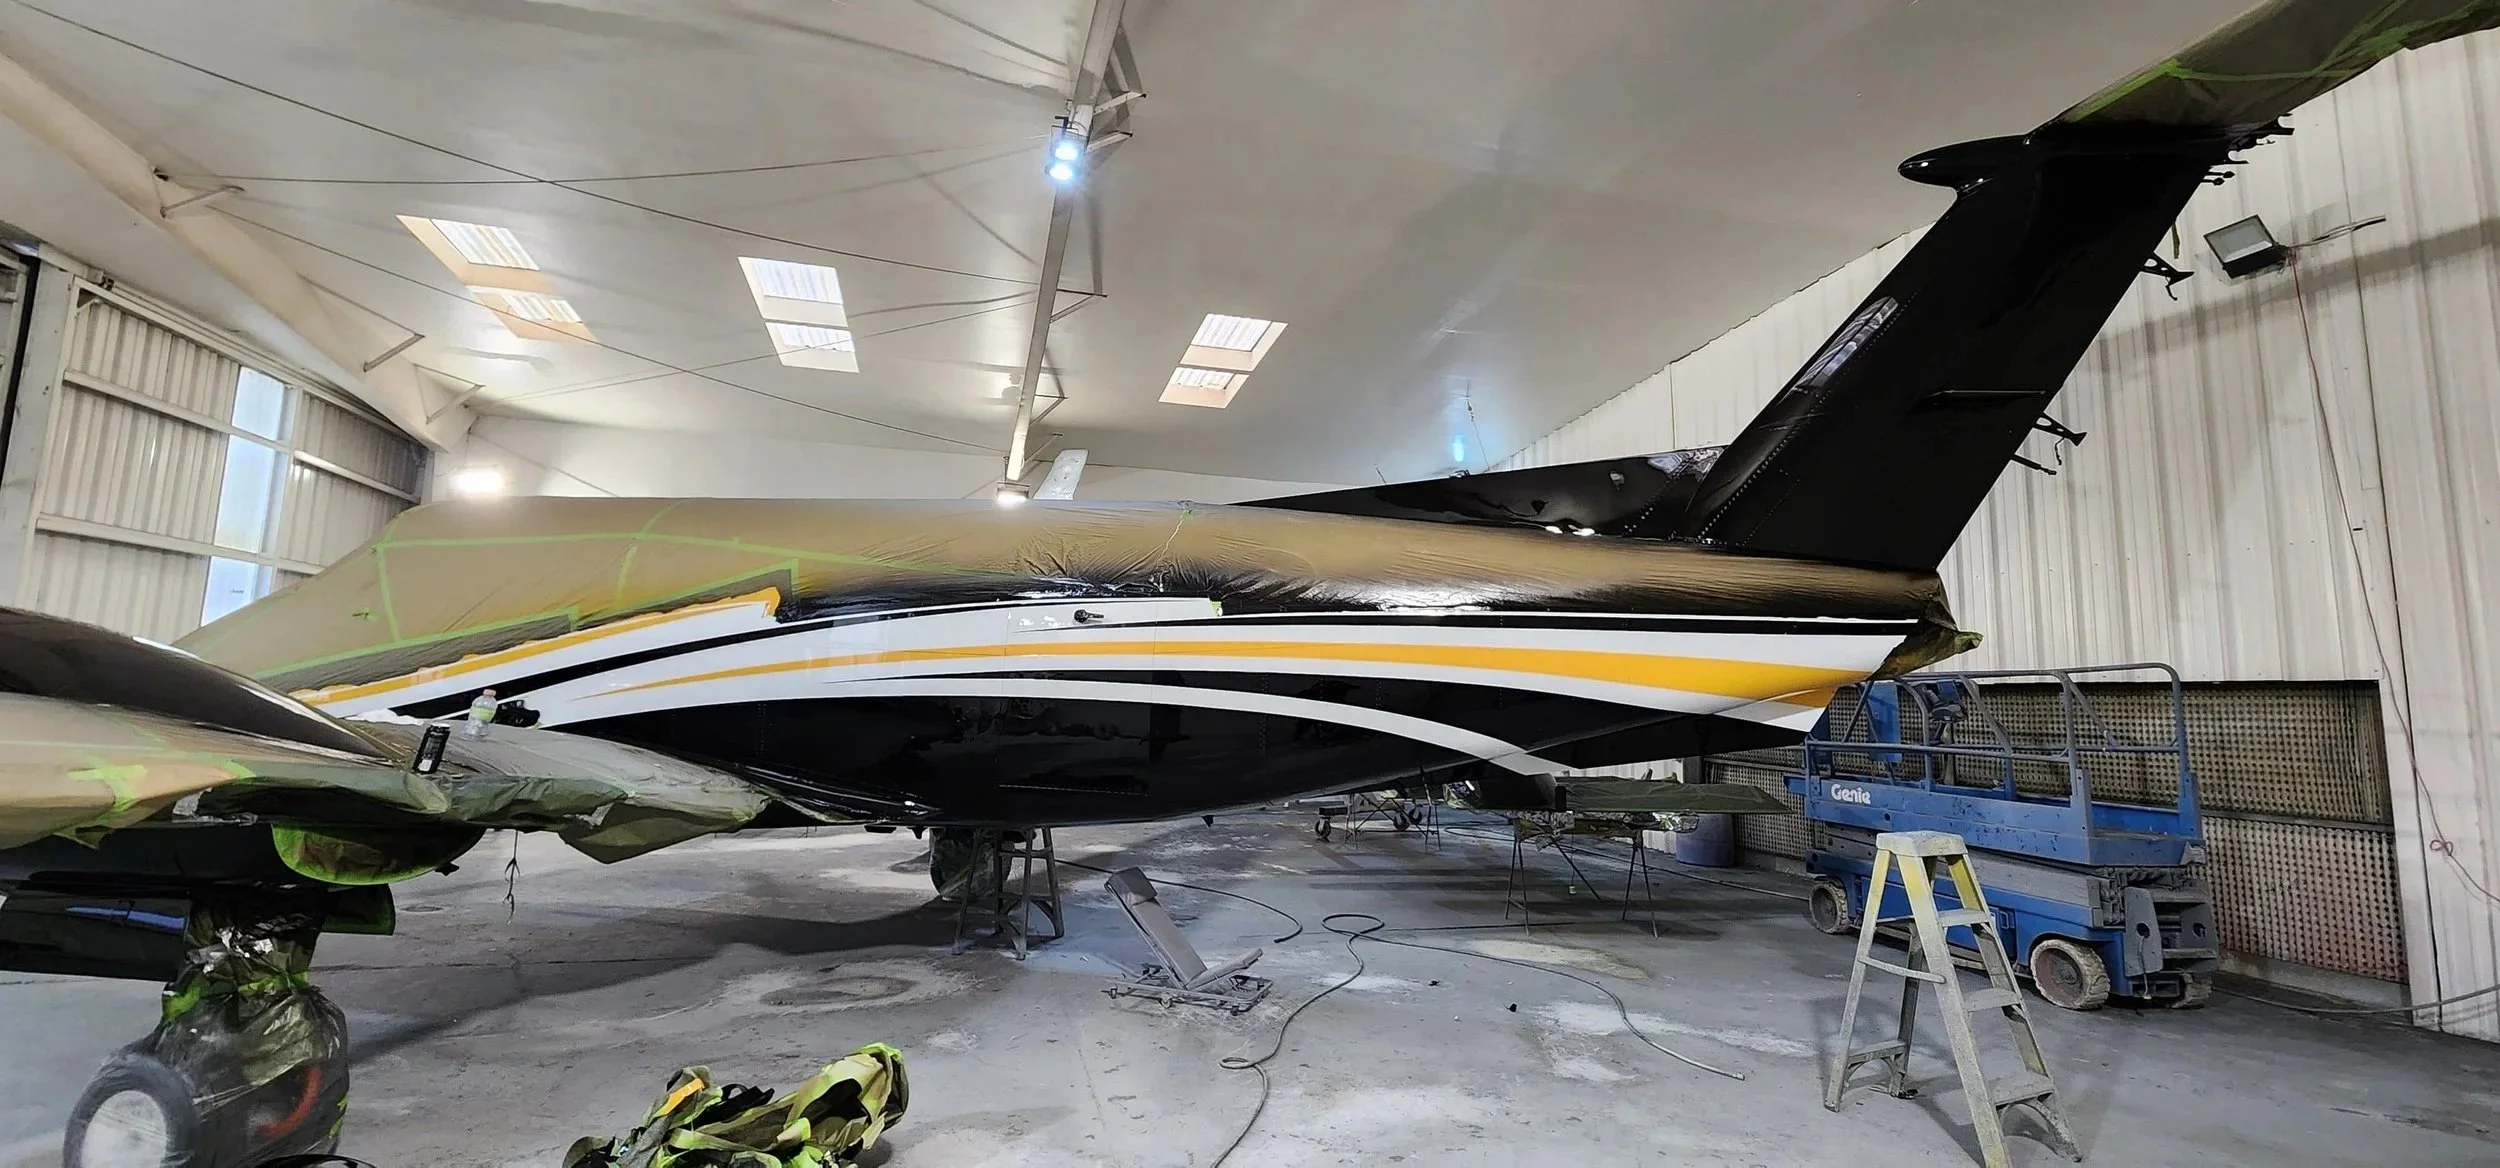
Aviation-grade polyurethane topcoats are applied to provide a finish that withstands the extreme conditions of flight — UV exposure, chemical contact, thermal cycling, and abrasion. Base colors, accent stripes, and custom graphics are applied in sequence with proper flash and cure times between coats.
Step 4-Surface Inspection & Prep
With the airframe stripped to bare metal, we conduct a thorough visual inspection of all surfaces. Any areas of concern are reported to you immediately — no decisions made without your knowledge.
Surface anomalies requiring structural attention are referred to an A&P/IA. Once cleared, all aluminum surfaces receive alodine conversion coating — the industry-standard prep step that chemically bonds the surface for maximum primer adhesion and long-term finish durability.
Step 8-Reassembly, Rebalance, & Final Inspection
All previously removed flight control surfaces are reinstalled and rebalanced per manufacturer specifications. Bright work, windows, and hardware are cleaned and detailed. We perform a final quality inspection of the entire aircraft before notifying you it’s ready. You receive it looking like it just left the factory — and protected for years to come.
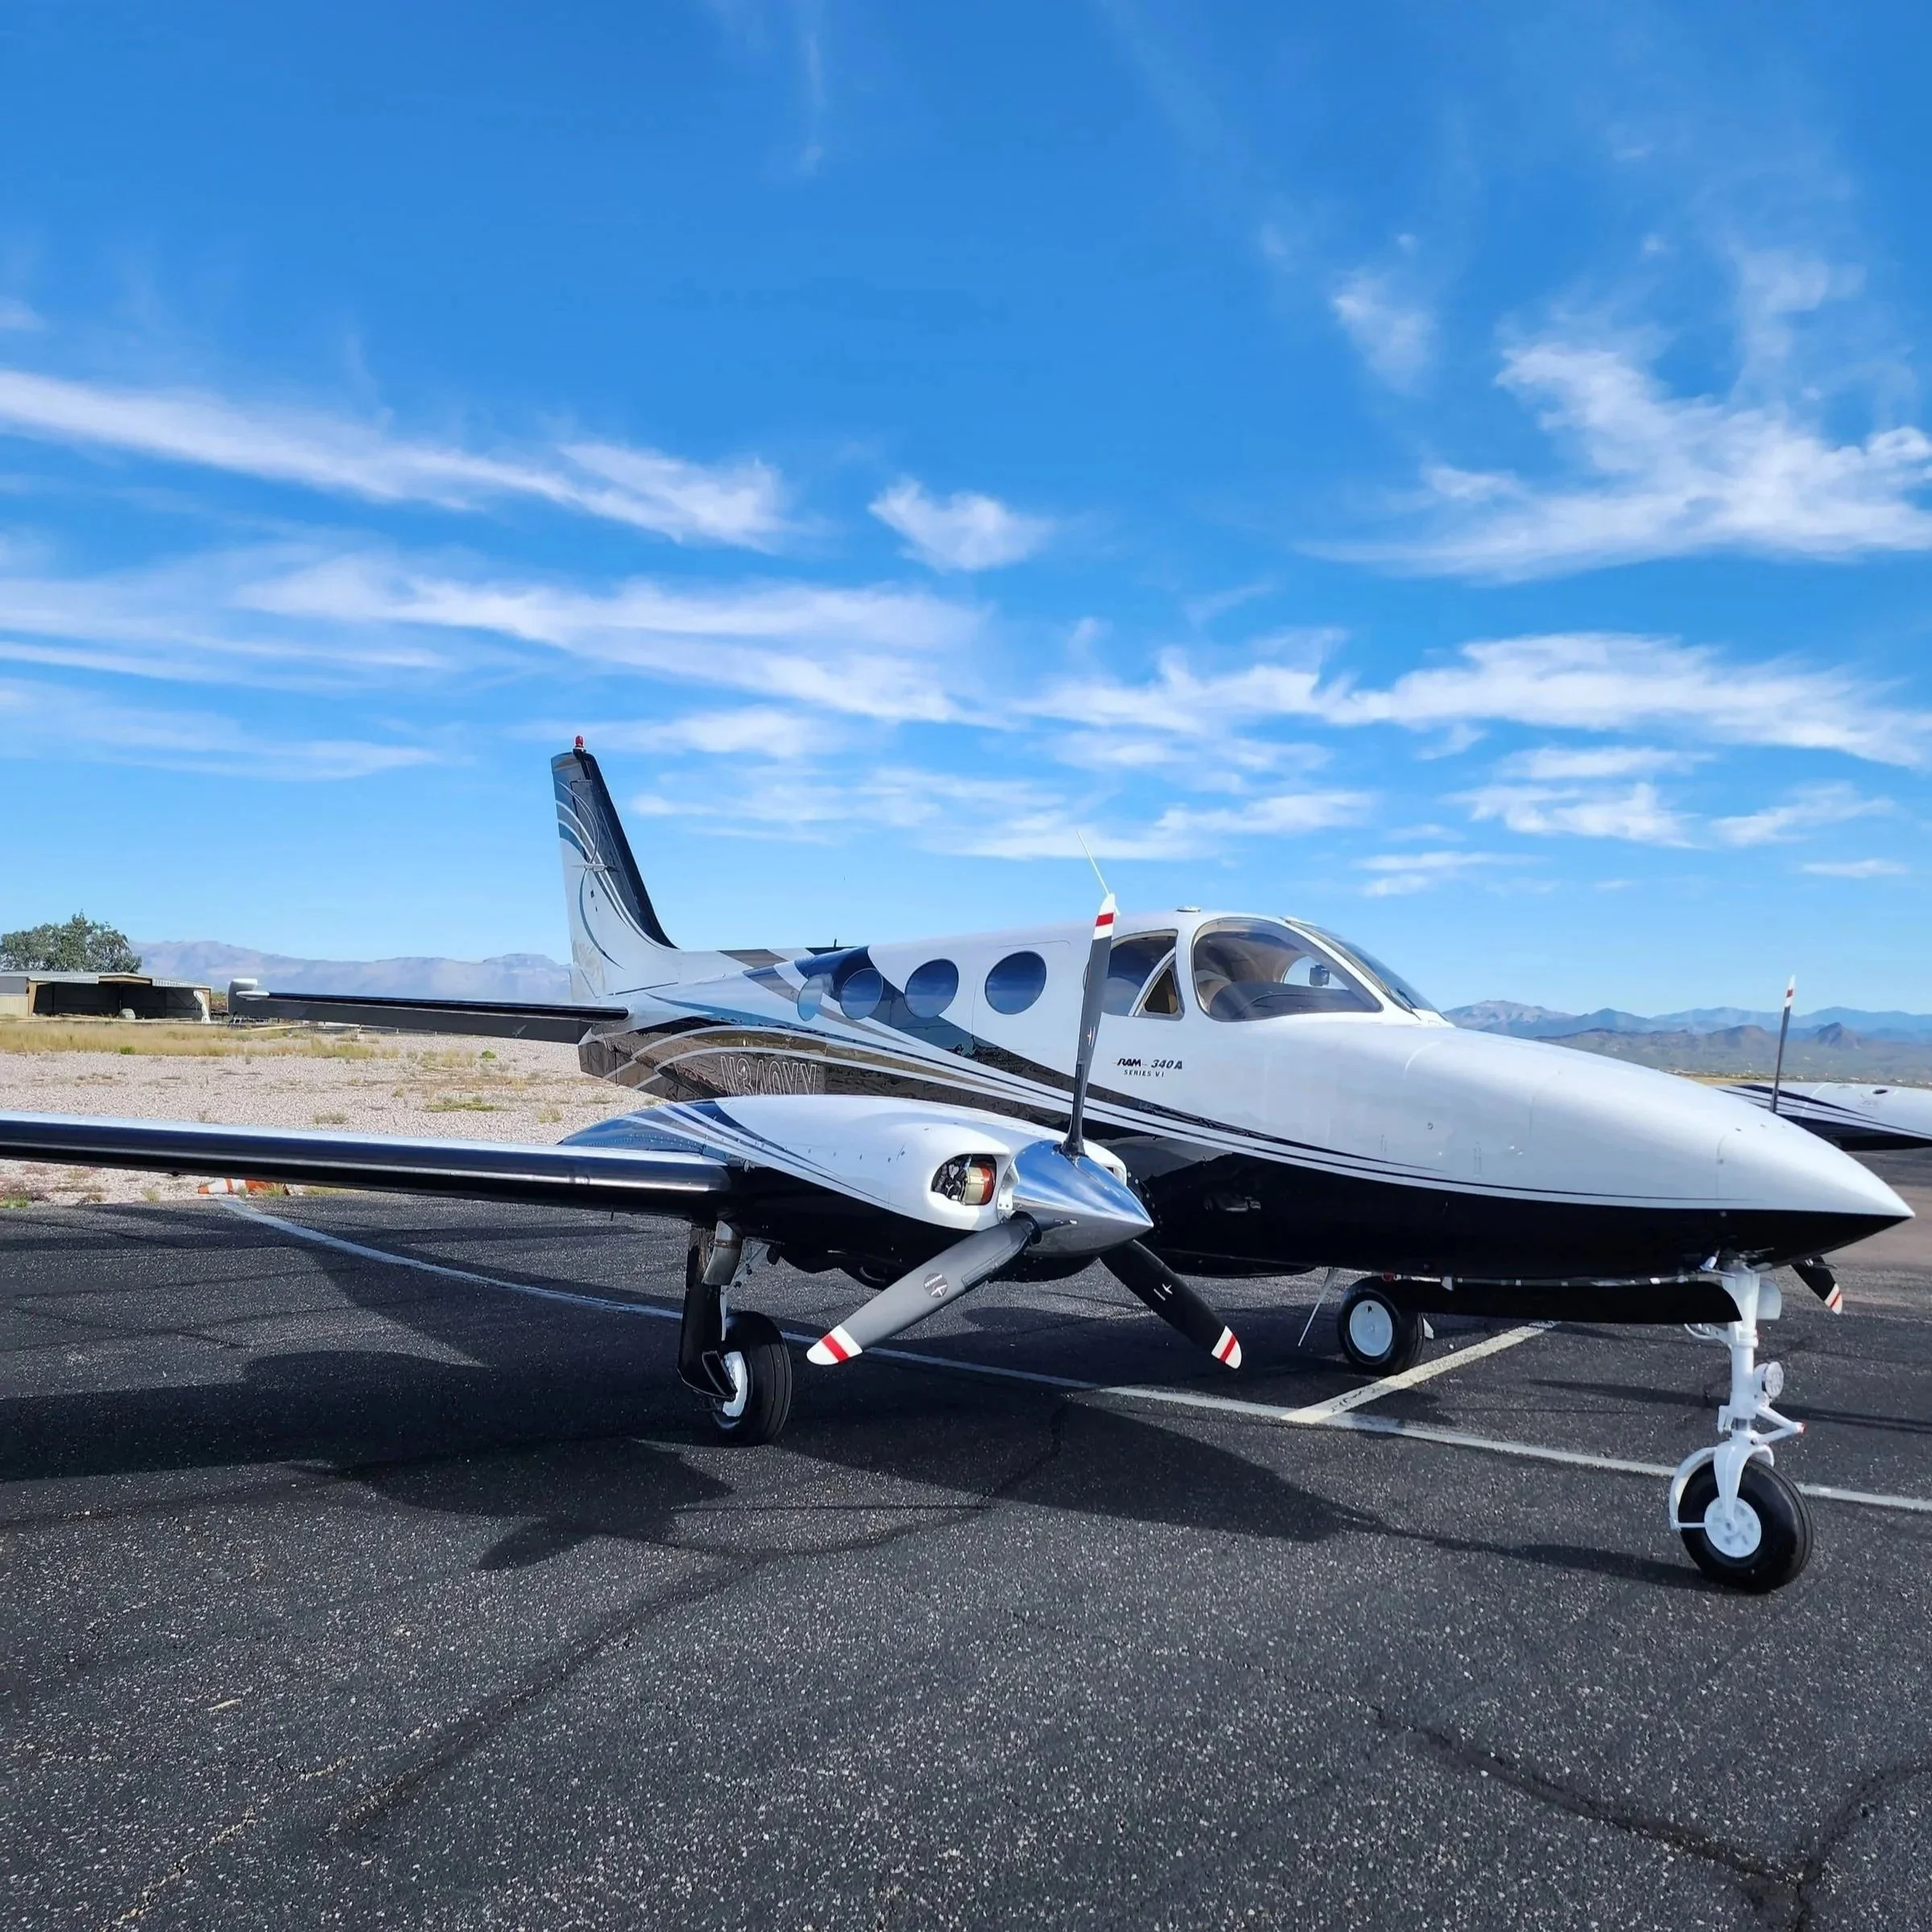
SPRAYED to Last